
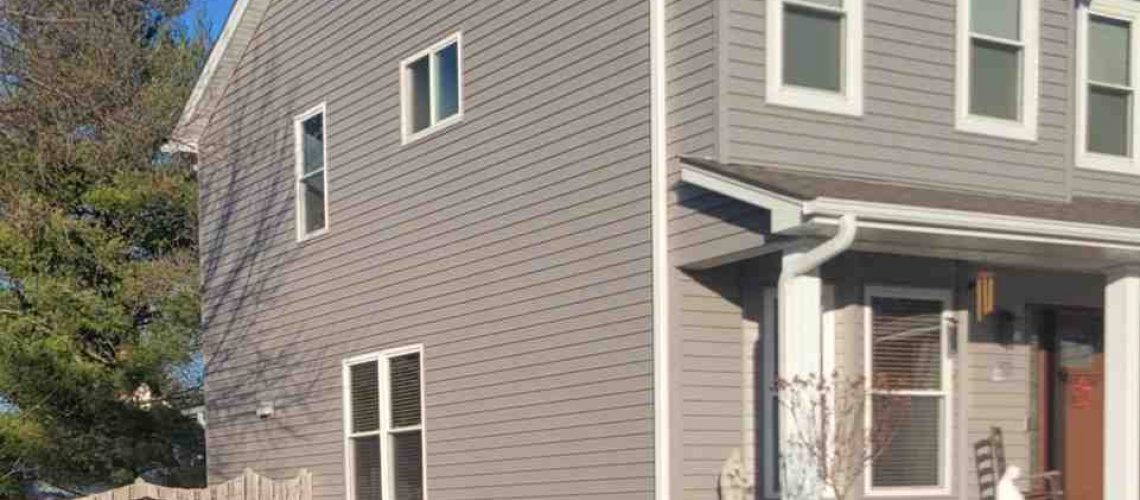
What You Need to Know About Siding Installation
Siding installation is one of the biggest exterior projects a homeowner can take on — and one of the most important for protecting your home from the elements.
Here’s a quick overview of what’s involved:
- Cost: Siding replacement typically runs between $6,000 and $14,000, depending on materials and home size
- Timeline: Most tear-off and installation projects take 7 to 14 days
- Lifespan: Quality siding lasts 10 to 15 years with proper installation and maintenance
- Key materials: Vinyl, fiber cement, LP SmartSide, wood, aluminum, and steel are the most common options
- DIY vs. pro: Vinyl siding can be DIY-friendly, but improper nailing or expansion gaps cause costly failures
Whether your siding is cracking, warping, or you’re dealing with storm damage, this guide walks you through everything — costs, materials, installation steps, and what to watch out for.
I’m John Martin of Martin & Sons LLC, a family-owned contractor with over 35 years of hands-on siding installation experience in the St. Louis area. In this guide, I’ll share the same practical knowledge I’ve used on thousands of projects so you can make confident, informed decisions about your home.
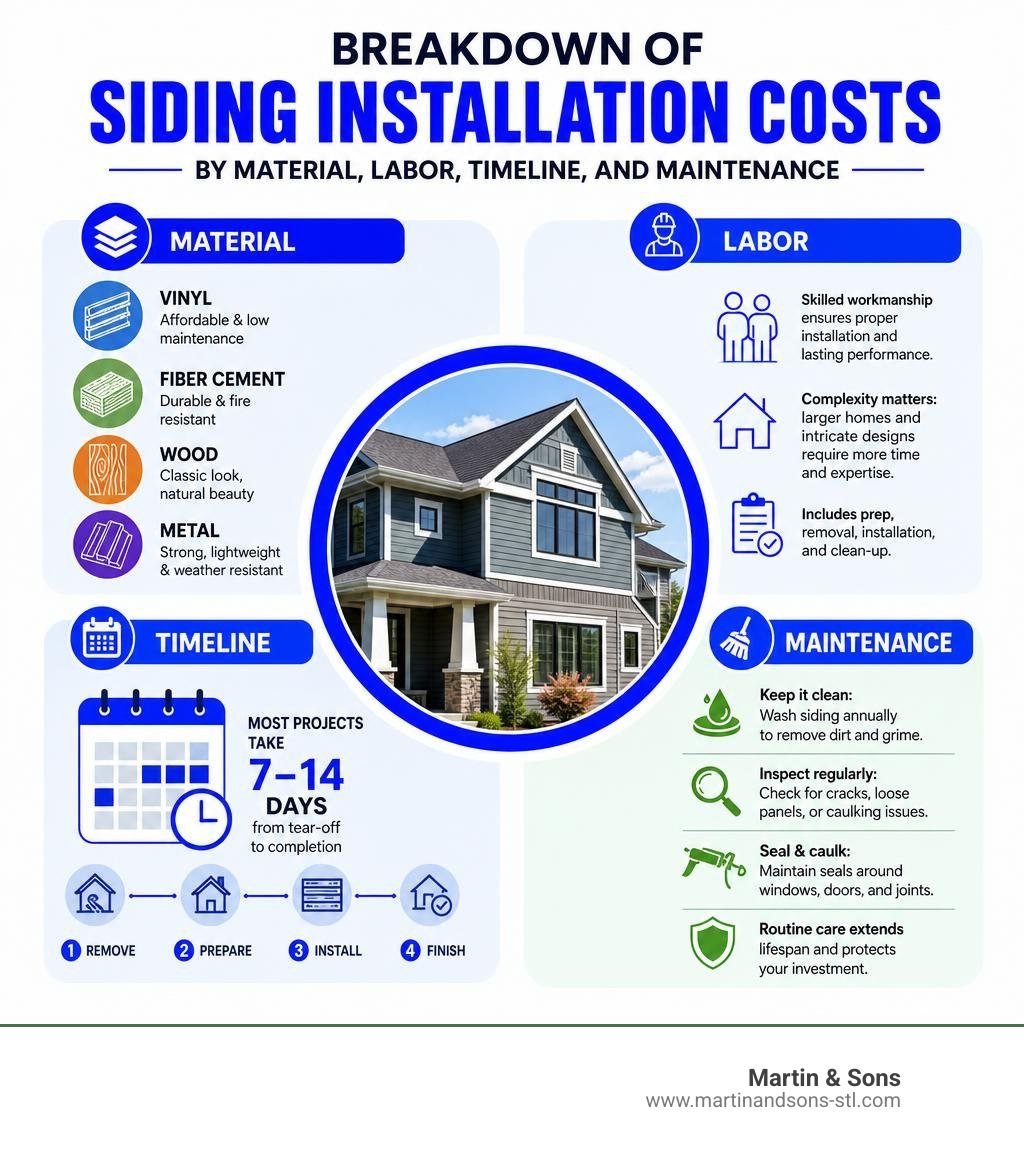
Siding Installation Cost Factors and Material Estimation
Understanding the financial side of a siding project helps you plan your budget without any nasty surprises. The final price tag of your project is driven by three main factors: the material you choose, the complexity of your home’s architecture, and local labor rates.
Here in the St. Louis area, we experience hot, humid summers and freezing winters. This climate means you need a durable material that can handle extreme temperature swings. Let’s look at how the most popular materials stack up:
| Siding Material | Average Cost (Installed) | Expected Lifespan (Midwest Climate) | Maintenance Level |
|---|---|---|---|
| Standard Vinyl | Low ($6,000 – $10,000) | 10 – 15 Years | Very Low (Wash occasionally) |
| Insulated Vinyl | Medium ($8,000 – $13,000) | 15 – 20 Years | Very Low |
| LP SmartSide | Medium-High ($9,000 – $15,000) | 20 – 30 Years | Low (Paint every 10 years) |
| Fiber Cement (James Hardie) | High ($10,000 – $18,000) | 30 – 50 Years | Low-Medium (Paint occasionally) |
| Steel / Aluminum | High ($11,000 – $17,000) | 25 – 40 Years | Low |
To get a clearer picture of long-term value, it helps to look at Calculating The Lifetime Cost Of Vinyl Siding Installation Repairs Maintenance. While cheaper materials cost less upfront, premium options like engineered wood or fiber cement often save you money over time because they require fewer repairs and last decades longer. For a deeper dive into making these choices, check out Siding A House What You Need To Know About Your Project.
How to Measure and Estimate Siding Materials
To estimate how much siding your home needs, you have to find the total square footage of your exterior walls. In the siding industry, we measure materials in “squares.” One square is equal to 100 square feet.
Here is how you can calculate your material needs step-by-step:
- Measure the Rectangular Walls: Measure the height and width of each flat wall. Multiply these two numbers to get the square footage (e.g., a wall that is 10 feet high and 30 feet wide is 300 square feet, or 3 squares).
- Calculate the Gables: For triangular gable ends, measure the width of the wall at the base of the triangle and the height from the base to the peak. Multiply the height by the width, and then divide by 2.
- Measure Dormers and Small Areas: Treat dormers as small triangles or rectangles and calculate their square footage separately.
- Subtract Large Openings: Add up the square footage of large windows, garage doors, and entry doors, and subtract this total from your overall wall square footage.
- Add a Waste Allowance: Always add a waste allowance to your final number. For standard rectangular homes, add 10%. If your home has complex angles, gables, or dormers, add 15% to 20% to account for material lost during custom cuts.
Project Timelines and Cost Influencers
A standard siding replacement project takes between 7 and 14 days, but several factors can shift this timeline and drive up costs.
The biggest wildcard is what we find after tearing off your old siding. If your home has hidden water damage, insect infestation, or rotted sheathing, these structural issues must be repaired before we can install the new panels. Skipping these repairs to save a quick buck will trap moisture and rot your home from the inside out.
Other factors that influence your final cost include:
- Tear-off and Disposal: Removing and hauling away old wood, stucco, or asbestos-contaminated siding requires extra labor and specialized disposal fees.
- Unpredictable Weather: St. Louis weather can change in an instant. High winds, heavy rain, or freezing winter temperatures can temporarily halt installation.
- Architectural Complexity: Multi-story homes, steep rooflines, and tight spaces between houses require scaffolding and extra safety gear, which increases labor time.
To make sure your project goes smoothly from start to finish, it is crucial to work with a reputable team. Take a look at The Best Local Siding And Gutter Companies For Your Home to learn how to choose a reliable local partner.
Essential Tools and Surface Preparation for Siding Installation

Before you drive a single nail, you must have the right tools on hand and prepare the exterior walls of your home. Cutting corners during the preparation phase is the leading cause of wavy, buckled, or leaking siding.
Choosing the right material for your home’s style and needs is also part of this phase. You can explore your choices further in How To Pick The Perfect Vinyl Siding For Your House and read about long-lasting options in Durable Vinyl Siding Options For A Lifetime.
Required Tools and Materials for Vinyl Siding
If you are planning a DIY installation, you will need more than just a standard hammer and tape measure. Having specialized siding tools on hand will save you hours of frustration:
- Utility Knife: Used for scoring and snapping vinyl panels.
- Tin Snips: Essential for making precise, custom profile cuts around trim and corners.
- Snap-Lock Punch: Creates raised tabs (lugs) on the cut edge of top panels so they lock securely into utility trim.
- Nail-Slot Punch: If you cut a panel and need to create a new nailing slot to secure it, this tool punches perfect slots without cracking the vinyl.
- Power Saw: A circular saw or miter saw fitted with a fine-tooth plywood blade installed backward makes incredibly clean, smooth cuts in vinyl siding, especially in cold weather.
- Fasteners: Use corrosion-resistant aluminum or hot-dip galvanized roofing nails. They must have a minimum head diameter of 5/16 inch and a shank diameter of 1/8 inch. Ensure they are long enough to penetrate at least 3/4 inch into solid wood sheathing.
Preparing Exterior Walls, Furring, and Insulation
Siding is not designed to be completely waterproof; it acts as a shedding system. Therefore, the wall surface behind your siding must be prepared to handle moisture:
- Inspect and Repair the Substrate: Remove all old siding, inspect the wood sheathing for rot, and replace any soft or damaged boards. Secure any loose sheathing.
- Install a Water-Resistive Barrier (WRB): Apply a high-quality house wrap over the sheathing, overlapping the seams by at least 6 inches, and tape all joints to keep wind and water out.
- Address Uneven Walls with Furring: If your exterior walls are bowed or uneven, your new siding will follow those contours and look wavy. To fix this, install wood furring strips vertically every 16 inches on-center to create a flat, level plane.
- Add Insulation: Installing rigid foam board insulation over the sheathing before siding goes up is an excellent way to eliminate thermal bridging and lower your energy bills.
Step-by-Step Guide to Installing Siding, Trim, and Soffits
With your walls prepped and your tools laid out, it is time to begin the installation. For a deep dive into the technical standards used by professionals, you can refer to the official INSTALLATION MANUAL. If you decide the process is too complex to handle on your own, you can always reach out to House Siding Installation Experts to handle the heavy lifting.
Proper Cutting and Nailing Techniques for Siding Installation
The number one rule of vinyl siding installation is simple: allow for movement.
Vinyl siding is a thermoplastic material. It can expand and contract by 1/2 inch or more over a standard 12-foot-6-inch panel during normal, year-round temperature swings. If you nail the panels tightly to the wall, they will buckle, warp, and crack as the temperature changes.
Follow these critical nailing techniques:
- Never nail tight: Leave a gap of 1/16 inch (about the thickness of a dime or nickel) between the nail head and the siding nailing flange. The panels must be able to slide freely from side to side.
- Center your nails: Always drive nails directly into the center of the factory-cut nail slots. Nailing at the very end of a slot pinpoints the panel and stops it from expanding, which leads to buckling.
- Keep nails straight: Drive your nails straight and level. Crooked nails pull the siding flange downward, distorting the panel.
- Never face-nail: Do not drive nails directly through the visible face of the siding.
- Space nails properly: Space your nails 12 to 16 inches on-center for horizontal panels.
When it comes to cutting, use a circular saw with a reversed fine-tooth blade for fast, clean cuts. For smaller detail cuts around windows, score the vinyl with a utility knife and bend it back and forth to snap it cleanly, or use tin snips.
Installing Starter Strips, Corner Posts, and J-Channels
Before you hang your first horizontal siding panel, you must install your accessory trim pieces. These pieces guide your panels and keep your home watertight.
- Snap a Chalk Line: Find the lowest corner of your home, measure up to establish your starting height, and snap a perfectly level chalk line around the entire perimeter of the house.
- Install the Starter Strip: Align the top of your starter strip with the chalk line. Nail it every 8 to 10 inches, leaving a 1/4-inch gap between starter strip sections to allow for expansion.
- Hang Inside and Outside Corner Posts: Install your corner posts so they extend 1/4 inch below the bottom of the starter strip and stop 1/4 inch below the eave. Hang the post from the very top nail slot by placing a nail at the top of the slot, then place all other nails in the center of the slots every 8 to 12 inches. If you need to overlap corner posts, cut 1 inch of the nailing flange off the upper piece and overlap it 3/4 inch over the lower piece, leaving a 1/4-inch gap inside for expansion.
- Install J-Channels: Run J-channels around all windows, doors, and along the roofline to cover the cut edges of your siding panels. Miter the corners of your J-channels to prevent water from leaking behind your trim.
Handling Windows, Doors, and Top Row Eaves
Installing siding around openings requires careful flashing and trimming.
First, flash around all windows and doors with self-adhesive flashing tape to redirect water outward. When siding panels meet the bottom of a window, measure and cut the panel to fit the opening, leaving a 1/4-inch gap inside the J-channel receiver.
For the top row of siding directly under your eaves:
- Install utility trim (also called undersill trim) along the top of the wall.
- Measure the distance from the top of the utility trim to the lock of the panel below, and subtract 1/4 inch.
- Cut the top siding panel to this width.
- Use a snap-lock punch to punch raised tabs (lugs) along the cut edge of the panel every 6 inches, with the tabs facing outward.
- Lock the bottom of the panel into the row below, and slide the top cut edge into the utility trim. The raised tabs will snap into the trim, holding the final panel securely in place without any visible nails.
Soffit, Fascia, and Horizontal vs. Vertical Siding Installation
Soffit and fascia installation are crucial parts of a complete siding project. They seal your roofline, protect your rafters, and provide essential attic ventilation.
When installing soffit panels:
- For open eaves, install F-channel along the wall and J-channel along the fascia board to support the soffit panels.
- Slide the soffit panels into the channels, nailing them through their flanges.
- Always use perforated (vented) soffit panels to maintain healthy airflow through your attic space.
- Wrap the wood fascia board with custom-bent aluminum fascia coil, tucking the top edge under the roof drip edge and nailing it along the bottom lip with color-matched stainless steel trim nails.
If you are looking for a modern design, you might choose vertical siding instead of traditional horizontal panels. Vertical siding installation uses a similar process, but it requires solid horizontal framing or furring strips spaced every 12 inches on-center for secure nailing. For a complete breakdown of these methods, you can review the manufacturer-approved Installation Guide.
Frequently Asked Questions About Siding Projects
If you are planning a siding project, you probably have a few questions. Here are the answers to the most common questions we hear from homeowners. If you are hiring a professional, make sure to read The Ultimate Checklist For Hiring Siding Replacement Contractors to help you choose the right team.
How much does siding replacement cost?
For a standard home in the St. Louis area, a professional siding replacement typically costs between $6,000 and $14,000. Basic vinyl is the most budget-friendly option, while premium materials like James Hardie fiber cement or LP SmartSide sit at the higher end of the scale.
How much gap should be left for vinyl siding expansion?
Always leave a 1/4-inch gap wherever your siding panels butt into accessories (like J-channels, corner posts, and starter strips). If you are installing siding in freezing temperatures (below 40°F), increase this gap to 3/8 inch because the cold panels will expand significantly once the summer heat hits.
How long does a typical siding project take?
A typical tear-off and installation project takes between 7 and 14 days. This timeline can vary depending on the size of your home, the weather, and whether we discover any hidden wood rot or structural damage that must be repaired after removing your old siding.
Conclusion
Investing in professional siding installation is one of the best ways to boost your home’s curb appeal, improve its energy efficiency, and protect it from unpredictable Midwest weather. While DIY installation is possible if you follow the rules of thermal expansion, hiring an experienced team ensures a flawless, long-lasting finish.
At Martin & Sons, we do things differently to give you complete peace of mind:
- No upfront deposits: You do not pay us a single dime until the job is 100% complete and you are entirely satisfied with our work.
- Lifetime labor warranties: We stand behind our craftsmanship for as long as you own your home.
- Best prices upfront: No high-pressure sales tactics or hidden fees — just honest, straightforward pricing from day one.
If you live in St. Louis, St. Peters, St. Charles, Florissant, Chesterfield, Creve Coeur, Maryland Heights, or O’Fallon, we would love to help you transform your home.
Ready to get started? Visit our Martin & Sons Siding Services page today to schedule your free, no-obligation estimate!