
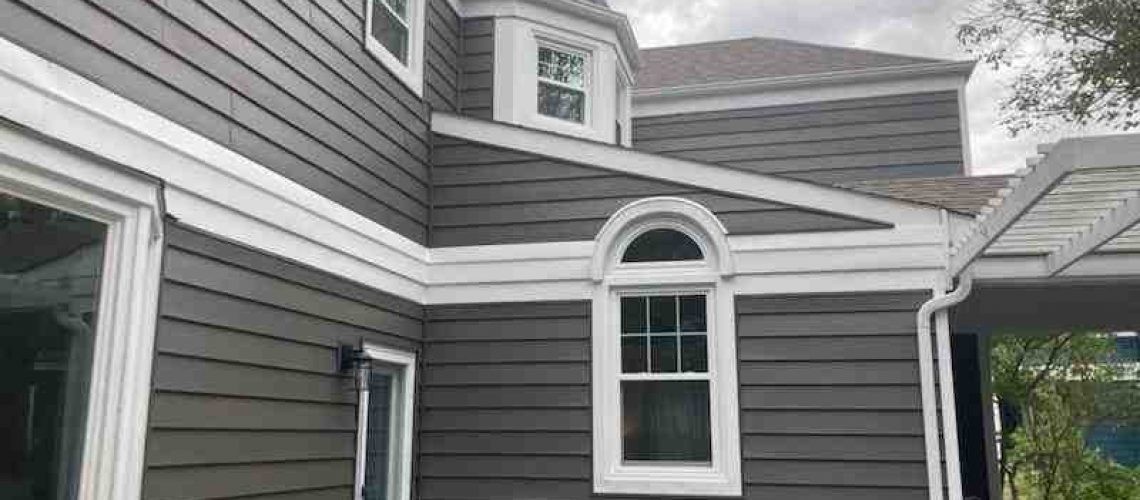
What You Need to Know Before Putting Up Vinyl Siding
Putting up vinyl siding is one of the most practical ways to improve your home’s exterior — without ever picking up a paintbrush.
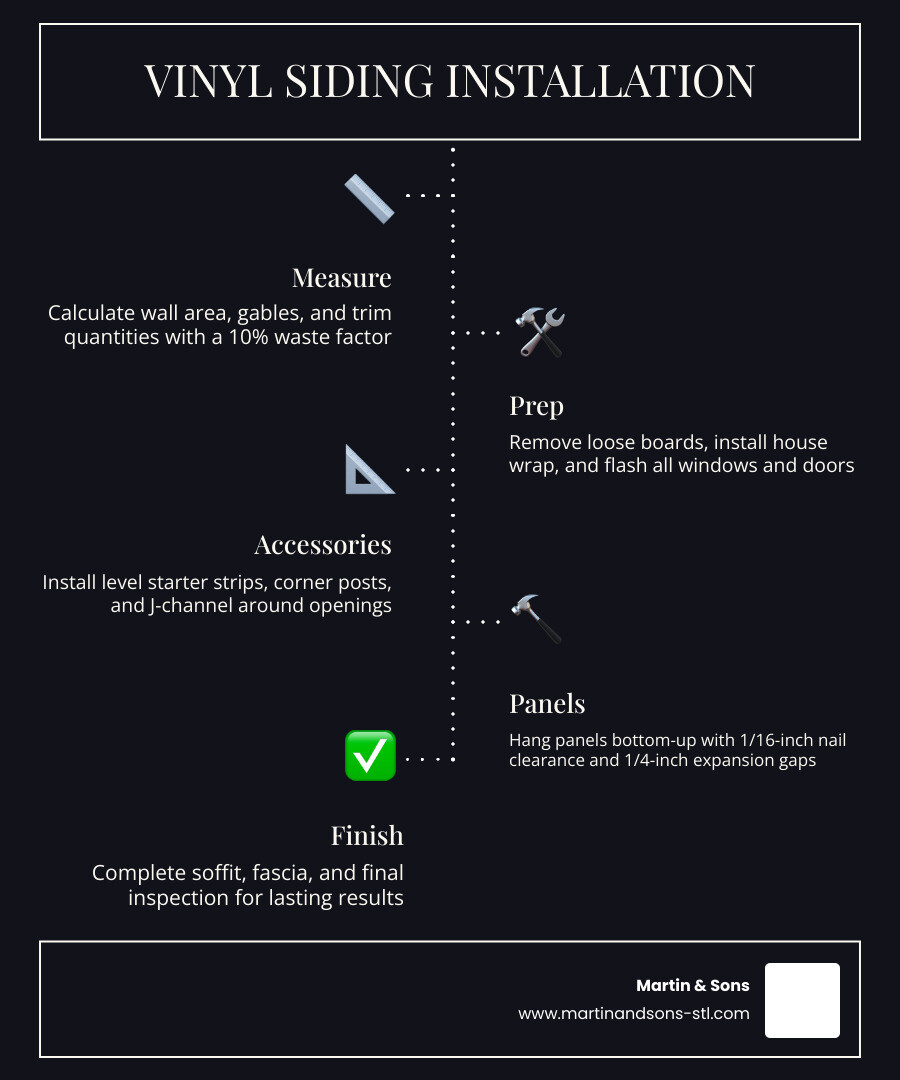
Here’s a quick overview of how the installation process works:
- Measure your walls, gables, and overhangs to estimate materials
- Prep the surface — fix loose boards, install house wrap, and flash all openings
- Install accessories first — starter strips, corner posts, and J-channel
- Hang panels from the bottom up, locking each course into the one below
- Nail correctly — centered in slots, never driven tight
- Finish with soffit, fascia, and a final inspection
Vinyl siding is durable, low-maintenance, and more affordable than most other exterior cladding options. It comes in a wide range of colors, textures, and thicknesses. But a bad install — overdriven nails, skipped flashing, or panels nailed too tight — can lead to buckling, water damage, and a wavy finish that’s hard to fix.
This guide walks you through every step, from measuring to the final course.
I’m John Martin, owner of Martin & Sons LLC, and with over 35 years of hands-on experience putting up vinyl siding on homes across the St. Louis area, I’ve seen what separates a clean, lasting installation from one that fails within a few seasons. Let’s make sure yours is done right.
Measure and Plan Before Putting Up Vinyl Siding
Before you head to the home improvement store in Florissant or St. Charles, you need a solid plan. Putting up vinyl siding effectively starts with precise math. If you under-order, you’ll be stuck waiting for more materials while your house wrap is exposed to the elements. If you over-order, you’re just wasting money.

How to estimate siding, trim, and accessory quantities accurately
In the siding world, we talk in “squares.” One square equals 100 square feet of wall area. To find out how many squares you need, measure the height and width of each wall and multiply them. Don’t worry about subtracting for windows and doors unless they are massive (like a three-car garage door); keeping those numbers in the total provides a built-in waste factor for cuts and overlaps.
For gables, measure the width of the base and the height to the peak. Multiply those and then multiply by 0.75. This accounts for the waste created when cutting those tricky angles along the roofline.
Don’t forget the accessories:
- Starter Strips: Measure the total perimeter of the house at the base.
- Corner Posts: Count your outside and inside corners and measure their height.
- J-Channel: This goes around every window, door, and where the siding meets the soffit. Measure the perimeter of all these openings.
- Soffit and Fascia: Measure the length and width of your eaves and the length of your roof edge (fascia).
New construction vs re-siding: what changes in your plan
If you’re working on a new home in O’Fallon, you’re likely installing over fresh OSB or plywood sheathing. This is the ideal scenario because the walls are (hopefully) flat and plum.
However, if you are re-siding an older home in St. Louis, things get more interesting. You have to decide whether to tear off the old siding or install over it. If the old wood siding is flat and solid, you can often go over it, but you may need furring strips to create a level plane. Furring strips are essential for preventing a “wavy” look on older, uneven walls. Always check for structural bracing and rot before covering anything up. If the wood underneath is soft, the nails won’t hold, and your new siding will eventually sag.
Tools and materials you need before putting up vinyl siding
You can’t do a pro job with just a hammer and a prayer. Here is the essential kit:
- Measuring & Leveling: Tape measure, chalk line, and a 4-foot level.
- Cutting Tools: A circular saw with a fine-tooth plywood blade (installed backward for smoother cuts), tin snips for detail work, and a utility knife.
- Specialty Siding Tools: A zip tool (for unlocking panels), a snap lock punch (for the top row), and a nail slot punch (to extend holes if needed).
- Fasteners: Use galvanized roofing nails at least 1-3/4 inches long.
- Protection: A high-quality Water-Resistive Barrier (WRB) or house wrap and flashing tape.
7 Benefits of Choosing Vinyl Siding for Your Home
Prep the Walls the Right Way to Prevent Buckling and Water Damage
Preparation is the least “fun” part of putting up vinyl siding, but it’s the most important for the longevity of your home. Vinyl is not waterproof; it’s a heat shield and a rain screen. Water will get behind it, so the wall underneath must be ready to handle it.
Surface prep checklist for wood, masonry, and existing siding
- Secure everything: Nail down any loose boards or trim.
- Clear the deck: Remove downspouts, shutters, lighting fixtures, and old caulking around windows.
- Inspect for rot: Replace any soft or crumbling wood. Siding is only as strong as the “nailable base” it’s attached to.
- Furring: For masonry or very uneven wood walls, install 1×3 furring strips vertically every 12 to 16 inches.
- Insulation: This is the best time to add foam board insulation. It provides a flat surface and boosts your home’s R-value.
Why house wrap, flashing, and a flat surface matter
Modern building codes in places like Maryland Heights and Chesterfield require a water-resistive barrier. House wrap acts as a one-way valve, letting moisture out of your house while keeping liquid water from reaching your studs.
Flashing is your second line of defense. You must install drip caps over windows and doors and use flashing tape to seal the edges. Without this, water will seep into your wall cavities, leading to mold and rot that you won’t see until it’s too late. For more technical details on moisture management, you can refer to the INSTALLATION MANUAL .
Common prep mistakes that ruin a siding job
The biggest mistake we see is putting up vinyl siding directly to studs without sheathing. This is a recipe for disaster and is against code. Another common error is skipping the flashing because “the J-channel will catch the water.” It won’t. J-channel is a trim piece, not a waterproof seal. Finally, never trap moisture by installing vinyl over wet wood or failing to use a breathable house wrap.
Putting Up Vinyl Siding Accessories First: Starter Strips, Corners, and J-Channel
Before the first big panel goes on, you have to “frame” the house with accessories. These pieces provide the channels that the siding panels lock into.
Installing starter strips level and at the correct height
Your entire job depends on the starter strip being perfectly level. Find the lowest corner of the house and measure up the width of the starter strip minus 1/4 inch. Snap a chalk line around the entire house.
Nail the starter strip along this line, but leave a 1/4-inch gap between the ends of the strips where they meet. This allows for expansion. If the starter strip is crooked, every single row of siding above it will be crooked too.
How to install corner posts, overlaps, and splice details
Outside and inside corner posts should be installed next. They should extend 1/4 inch below the bottom of the starter strip and stop about 1/4 inch below the eave at the top.
Pro Tip: When nailing vertical accessories, place the first nail at the very top of the uppermost nail slot. This “hangs” the piece. Then, place the rest of the nails in the center of the slots every 8 to 12 inches. If you need to stack corner posts for a tall wall, overlap the top post over the bottom one by 3/4 inch, but leave 1/4 inch of space inside the joint for movement.
Putting up vinyl siding around windows, doors, and penetrations
J-channel is the “universal” trim. It goes around windows and doors to hide the cut ends of the siding. When installing J-channel around a window:
- Install the bottom piece first.
- Install the side pieces.
- Install the top piece last.
Make sure to cut “rain tabs” in the top and side pieces so that water is diverted out and over the pieces below rather than behind them. For more on choosing the right look for your home, check out How to Pick the Perfect Vinyl Siding for Your House.
Best trim methods for a clean professional finish
For the very top row of siding, you’ll use undersill trim (also called utility trim). This is installed inside the J-channel at the top of the wall or under windows. You’ll use your snap lock punch to create tabs in the siding that lock into this trim, ensuring the final piece doesn’t blow away in a St. Louis storm. You can find more visual aids on trim at How to Install Vinyl Siding .
Putting Up Vinyl Siding Panels Without Waviness, Buckling, or Cracks
Now for the main event: putting up vinyl siding panels. This is where the house starts to transform, but it’s also where most DIYers make critical errors.
How to cut vinyl siding panels safely and cleanly
- Circular Saw: Use a fine-tooth blade installed backward. This “melts” through the vinyl rather than chipping it. This is best for long, straight cuts.
- Tin Snips: Great for detail work around outlets or when trimming the ends of panels.
- Utility Knife: You can score the vinyl and snap it over a straight edge.
- Cold Weather Caution: In 2026, we still see people trying to cut vinyl in freezing weather. Be careful! Cold vinyl is brittle and can shatter. If you must work below 40°F, use extra care and leave larger expansion gaps.
Nailing and fastening rules every installer should follow
This is the most important rule in this entire guide: Vinyl siding must be able to move.
- Center the nails: Always drive the nail into the center of the factory-punched slot.
- Don’t drive them tight: Leave about 1/16 inch (the thickness of a dime) between the nail head and the siding.
- Nail straight: If the nail is crooked, it will pull the siding and cause a ripple.
- Spacing: Space nails every 12 to 16 inches on-center.
How to allow for vinyl siding expansion and contraction
Vinyl siding can expand and contract by 1/2 inch or more over a 12-foot length as temperatures swing from a humid St. Louis summer to a freezing winter.
- Leave a 1/4-inch gap where the siding meets any accessory (corners or J-channel).
- If you are installing in weather below 40°F, increase that gap to 3/8 inch.
- After nailing a panel, you should be able to slide it back and forth easily with your hand. If you can’t, it’s too tight.
Overlaps, seams, and top-row finishing details
When joining two panels, overlap them by about 1 inch. To make the seams less visible, “lap away” from the most common sightline. If your house faces a busy street, overlap the panels so the seam is facing the back of the house.
For the final row, measure the distance from the top of the undersill trim to the lock of the panel below. Cut your siding to this width, use your snap lock punch to create tabs every 8 inches, and “snap” it into place.
Soffit, Fascia, and Finishing Touches
The “trim out” is what makes a house look professional. This involves the soffit (the underside of the eaves) and the fascia (the vertical board where gutters are attached).
How to install soffit panels in open and closed eaves
Soffit panels are installed into J-channel or F-channel attached to the wall and the fascia board.
| Feature | Open Eave Installation | Enclosed Eave Installation |
|---|---|---|
| Support | Requires F-channel on the wall | Can use J-channel on the wall |
| Nailing | Nailed to the bottom of rafters | Nailed to the existing wood soffit |
| Ventilation | Use vented panels for airflow | Use vented panels over cutouts |
Cut the panels 1/4 inch shorter than the actual span to allow for expansion. If the span is over 36 inches, you need an intermediate nailing support.
Installing fascia and tying the roof edge together
Fascia covers are usually made of aluminum or vinyl-coated coil stock. They slide under the roof’s drip edge and hook over the bottom of the fascia board. Secure them with small, color-matched stainless steel nails. Be careful not to “face-nail” the fascia too tightly, or it will “oil-can” (look wavy).
Final inspection, cleanup, and long-term maintenance
Once you’re finished putting up vinyl siding, walk the perimeter. Push on the panels to make sure they all move freely. Check for any loose trim pieces.
To keep your siding looking new:
- Annual Rinse: Use a garden hose to wash away dust and pollen.
- Mild Soap: For stubborn dirt, use a soft brush and a mix of water and mild detergent.
- Wash Bottom-Up: This prevents streaking.
For a deeper dive into why this is a great investment, read about the Benefits of Vinyl Siding Installation and how to Calculate the Lifetime Cost of Vinyl Siding Installation Repairs Maintenance.
Frequently Asked Questions About Putting Up Vinyl Siding
Can you install vinyl siding over existing siding, or should you tear it off first?
You can install over existing wood siding if it is in good condition and flat. However, you must install house wrap first. If the old siding is cedar shingles or is rotting, it’s always better to tear it off to ensure a flat, stable surface for the new panels.
What is the biggest mistake people make when putting up vinyl siding?
Without a doubt, it’s nailing the panels too tight. When the sun hits the siding, it needs to grow. If it can’t move because the nails are driven tight against the vinyl, it will buckle and warp, creating permanent “waves” in your walls.
How often should vinyl siding be cleaned and inspected?
We recommend an inspection once a year and after any major St. Louis hailstorm. Look for cracks or panels that have unclipped. A quick annual cleaning with a hose will prevent mildew from taking hold in shaded areas.
Conclusion
Putting up vinyl siding is a rewarding project that can completely change the look of your home while protecting it from the Missouri elements. The keys to success are simple but non-negotiable: start with a level line, flash your windows properly, and never nail it tight.
If you follow these steps, you’ll have a beautiful, maintenance-free exterior that lasts for decades. However, we know that life gets busy, and climbing ladders isn’t for everyone. If you’d rather leave it to the pros, we’re here to help. At Martin & Sons, we pride ourselves on our “No Upfront Deposit” policy — you only pay when the job is 100% complete and you are satisfied. Plus, we offer lifetime labor warranties to give you total peace of mind.
Ready to transform your home? Upgrade Your Curb Appeal with Seamless Vinyl Siding in St. Louis and give us a call today!