
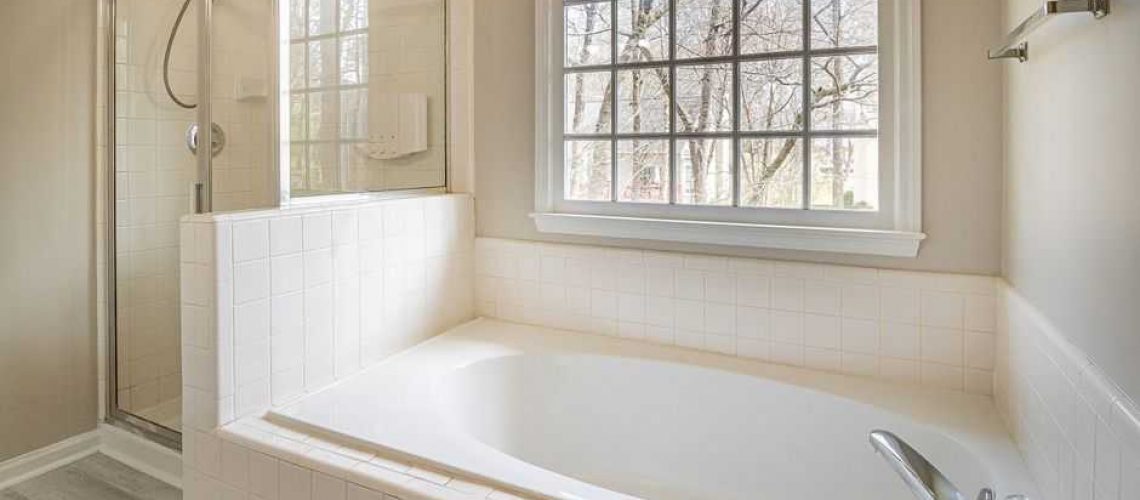
What You Need to Know About Bathroom Window Installation
Bathroom window installation is one of the smartest upgrades you can make to your home — and it’s more straightforward than most homeowners expect.
Here’s a quick overview of what’s involved:
- Choose the right window type — awning, casement, glass block, or sliding
- Plan for privacy — frosted glass, textured glass, or high placement
- Measure carefully — measure at three points and use the smallest dimension
- Waterproof everything — flashing tape, silicone caulk, and a pitched sill
- Pull a permit if required — structural changes usually need one
- Decide: DIY or pro? — DIY runs $150–$450; professional installs average around $400
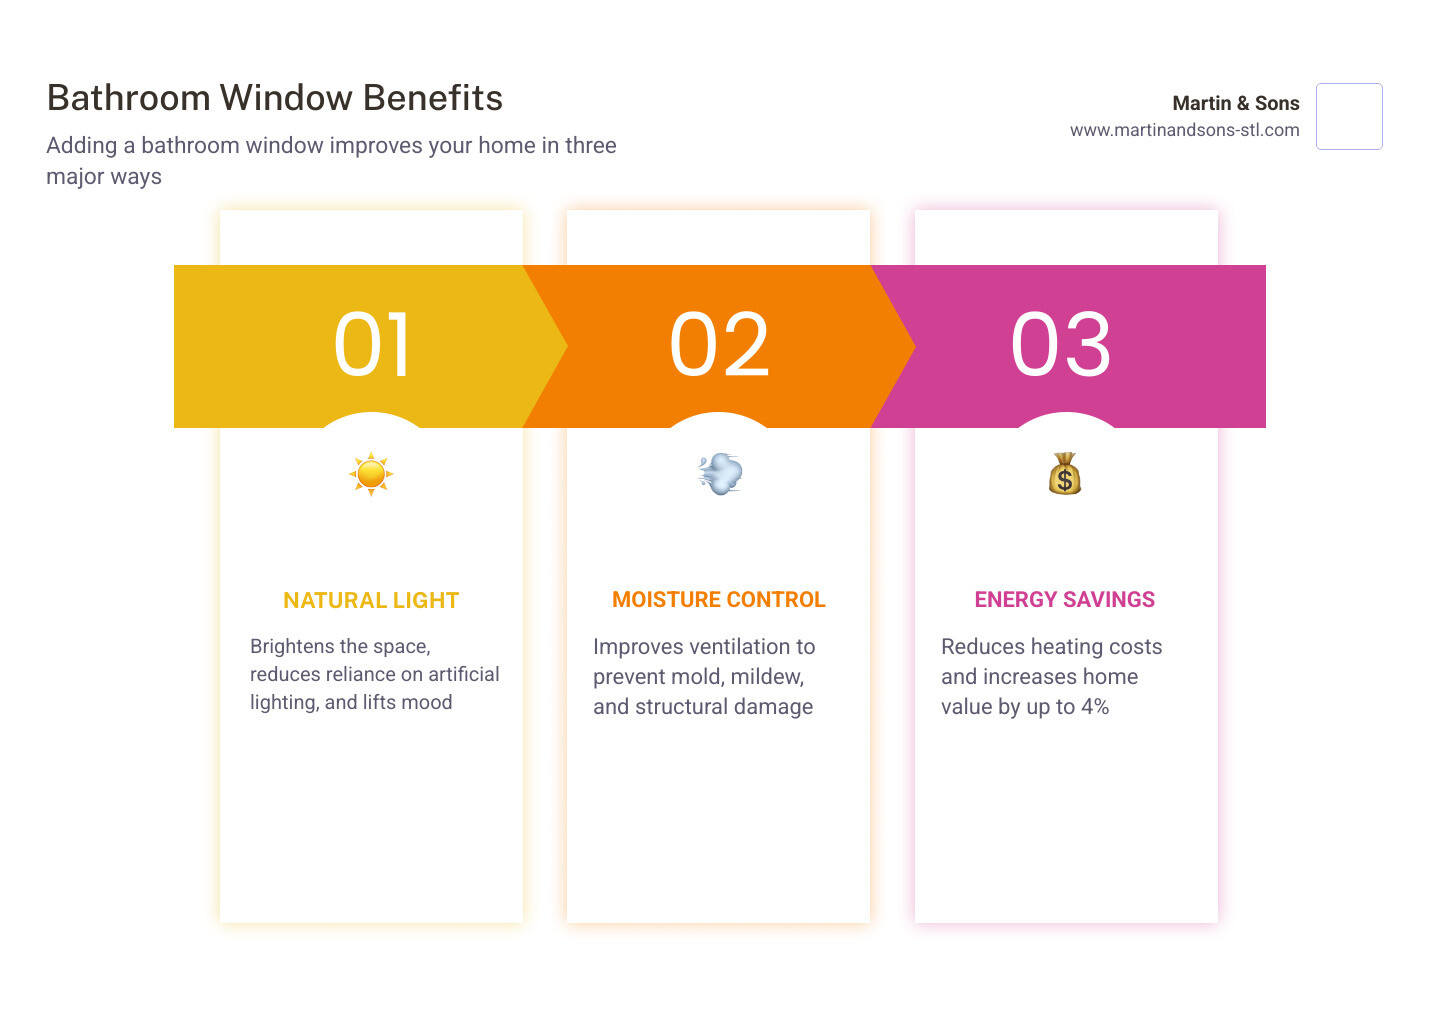
A properly installed bathroom window brings in natural light, fights moisture, cuts energy costs, and can boost your home’s value by up to 4%.
Bathrooms are among the most humidity-prone rooms in any home. Without proper ventilation and light, moisture builds up fast — leading to mold, mildew, and costly damage. A window fixes all of that in one shot. But get the installation wrong, and you trade one problem for another: water leaks, drafts, and failed seals.
That’s exactly why it pays to understand the process before you start swinging a hammer.
I’m John Martin of Martin & Sons LLC, a family-owned contractor serving St. Louis since 1953, with over 35 years of personal hands-on experience in bathroom window installation and full-scale home renovation. I’ll walk you through everything you need to know — from choosing the right window to sealing it properly — so your project goes smoothly the first time.
Why Bathroom window installation is a Game-Changer
When we talk to homeowners in St. Louis or St. Charles, the conversation often starts with aesthetics, but the benefits of bathroom window installation go much deeper than just a pretty view. In fact, adding a window to your bathroom can change the entire “ecosystem” of your home.
First, let’s talk about the financial side. According to national averages for May 2026, adding a bathroom window can increase your home’s value by up to 4%. That represents roughly a 67% return on investment (ROI). If you are simply replacing an old, drafty window with a modern unit, that ROI can jump even higher—often between 70% and 80% at resale.
Beyond the money, there is the health of your home. Natural light is a powerful disinfectant; it helps reduce the growth of mold and mildew, which thrive in dark, damp corners. Furthermore, a window provides a secondary exit (egress) and a primary source of fresh air. This improved air quality means you aren’t just relying on a noisy exhaust fan to clear out steam after a hot shower.
Energy efficiency is another major win. Modern energy-efficient windows can reduce heating and cooling costs by up to 30% in small bathrooms. When you consider that properly sealed windows can reduce energy loss by up to 40% compared to units with poor seals, the upgrade pays for itself over time. For more on this, check out The Benefits of Replacing the Windows on Your Home.
Choosing the Right Style and Privacy Solutions
One of the biggest hurdles homeowners face with bathroom window installation is the “fishbowl” effect. You want the light, but you definitely don’t want the neighbors seeing your morning routine. Fortunately, we have several ways to balance these needs.
Privacy glass is the most common solution. You can choose from:
- Frosted Glass: Acid-etched or sandblasted glass that lets in soft, diffused light but obscures shapes.
- Textured/Obscure Glass: Patterns like “rain,” “reeded,” or “pebble” that distort the view while adding a decorative touch.
- Window Films: A cost-effective DIY backup that can be applied to clear glass to make it opaque.
Placement is also key. “Clerestory” windows—which are narrow windows placed high on the wall near the ceiling—allow for maximum privacy and light harvesting without the need for any window treatments at all.
When it comes to materials, we always recommend vinyl or fiberglass frames for bathrooms. Unlike wood, which can warp or rot in high-humidity environments, vinyl is virtually maintenance-free and handles moisture like a pro. Choosing the right frame and glass can also refresh your home’s curb appeal significantly.
Best Window Types for Bathroom window installation
Not all window styles are created equal when it comes to the bathroom. Here are the top contenders:
- Awning Windows: These are hinged at the top and open outward. They are fantastic for bathrooms because you can leave them open for ventilation even when it’s raining in Florissant, as the glass acts as a little roof.
- Casement Windows: Hinged on the side, these catch side breezes and provide excellent airflow.
- Glass Block: These are a classic for a reason. They offer maximum security and privacy while letting in a ton of light. If you’re interested in this route, This Old House has a great guide on glass block installation.
- Sliding Windows: These are great for wider openings and are very easy to operate, though they require a bit more track cleaning to prevent mold.
Balancing Ventilation and Energy Savings
In the St. Louis climate, we deal with humid summers and freezing winters. Your bathroom window needs to be a thermal barrier. Look for windows with a low U-factor (the lower the number, the better the insulation).
We also recommend Low-E (low-emissivity) coatings, which reflect infrared light to keep heat inside during the winter and outside during the summer. Many of our high-performance units also feature Argon gas between the panes, which provides much better insulation than plain air. You can learn more about how energy-efficient windows help you save on our dedicated resource page.
Step-by-Step Guide to Bathroom window installation

Ready to get to work? Whether you are doing a full-frame replacement or an insert (pocket) installation, the process begins and ends with precision.
1. Measuring the Opening Don’t just measure once. Measure the width at the top, middle, and bottom. Then measure the height at the left, center, and right. Always use the smallest of the three measurements when ordering your window. If you order a window that is too big for the rough opening, you’re going to have a very bad day. For more pro tips, see our window replacement tips for your next home project.
2. Removing the Old Window If you’re replacing an existing unit, you’ll need to remove the old sashes and the “stops” (the trim holding the window in). In older homes in places like Chesterfield or Creve Coeur, you might find old sash weights or springs inside the walls. These should be removed, and the empty “weight pockets” should be filled with insulation.
Preparing the Opening and Waterproofing
This is the most critical stage of bathroom window installation. If water gets behind your siding or tile, it will rot your studs before you even notice a leak.
- Clean the Opening: Remove all debris, old caulk, and staples.
- Apply Flashing Tape: Use a high-quality flashing tape on the sill. This creates a waterproof “pan” that directs any moisture that might get past the window back outside.
- Level the Sill: Use a level to ensure the bottom of the opening is flat. If it’s not, you’ll need to use shims to create a level surface.
- Dry Fit: Before you apply any sealant, put the window in the hole. Ensure it fits with about 1/4 inch of wiggle room on all sides for adjustments.
For those working on a basement project, there are unique challenges like concrete walls. Remodelaholic offers a deep dive on basement bathroom window installs that is very helpful for these specific scenarios.
Sealing and Finishing for Moisture Resistance
Once the window is centered and leveled with shims, screw it into place. But don’t stop there.
- Expanding Foam: Fill the gap between the window frame and the house framing with “low-expansion” spray foam. Standard foam can expand too much and actually bow the window frame, making it impossible to open.
- Silicone Caulk: Use 100% silicone caulk (mold-resistant is best) around the entire exterior perimeter.
- Pitched Sill: Ensure the exterior window sill is slightly sloped away from the house so water runs off.
- Weep Holes: Never caulk over the “weep holes” at the bottom of the window frame. These are designed to let condensation escape.
Proper sealing is the difference between a window that lasts 5 years and one that lasts 50. Plus, new windows and doors can increase your home’s energy efficiency significantly when sealed correctly.
Costs, Permits, and Professional Considerations
Budgeting for bathroom window installation depends largely on whether you’re doing the labor yourself or hiring a team like ours.
| Installation Type | Estimated Cost (Materials + Labor) | Time Investment |
|---|---|---|
| DIY (Premade Kit) | $150 – $450 | 4 – 8 Hours |
| Professional (Standard) | $400 – $1,200 | 1 – 3 Hours |
| Custom / New Opening | $1,500 – $5,000 | 1 – 2 Days |
Building Permits and Codes In many parts of the St. Louis area, including O’Fallon and Maryland Heights, you will need a permit if you are cutting a new hole in a wall, as this involves structural changes to your home’s “envelope.” If you’re just replacing an existing window with one of the same size, you might not need a permit, but it’s always best to check with your local municipality. Permits can cost anywhere from $50 to 1% of the project cost and may require an inspection to ensure the header is structurally sound.
The Martin & Sons Advantage If the idea of cutting into your bathroom wall makes you nervous, we’re here to help. At Martin & Sons, we believe in a stress-free experience. That’s why we require no upfront deposits. You only pay when the job is 100% complete and you are totally satisfied. Plus, we offer lifetime labor warranties, so you know that waterproof seal is going to stay waterproof.
Frequently Asked Questions about Bathroom Windows
Do I need a permit to add a window to my bathroom?
Yes, in most cases. If you are creating a new opening, you are altering the structural integrity of the wall. This requires a header (a support beam) to be installed above the window. Local codes in St. Louis and Florissant require an inspection to verify this is done safely.
What is the best window for a shower area?
If the window will be inside the shower footprint, you must use tempered safety glass. We recommend vinyl or fiberglass frames because they won’t rot. It’s also vital to use a waterproofing membrane (like Schluter-Kerdi) around the window return and to slope the interior sill so water drains back into the shower pan.
How do I prevent condensation and mold?
Even with a great window, you should still use your exhaust fan. However, choosing double-pane or triple-pane glass helps keep the interior glass temperature warmer, which prevents moisture in the air from turning into liquid on the glass. Check your caulking every season to ensure no moisture is seeping into the walls.
Conclusion
Bathroom window installation is a project that pays dividends in comfort, health, and home value. Whether you’re looking to brighten up a dark space or finally win the battle against bathroom mold, a high-quality window is the answer.
If you’re in the St. Louis, St. Peters, or Florissant area and want the peace of mind that comes with professional expertise, give us a call at Martin & Sons. We’ll give you our best price upfront, and you won’t pay a dime until the job is done right.
Schedule your professional bathroom window installation today and let us help you see your bathroom in a whole new light!